Comprehensive eMCP Desoldering Guide - Part 1
Published on Nov 22, 2023 by IoTSecurity101 Team

eMCP Desoldering is a sophisticated technique in hardware security analysis, offering a pathway to uncover vulnerabilities not detectable through software penetration testing. This process involves removing the eMCP from a device’s circuit board to access the data directly or to analyze the hardware for potential security flaws. Given the complexity and risks associated with this method, it’s predominantly utilized by specialized security professionals and researchers aiming to identify bugs or to rewrite encrypted data files. Here’s a simplified overview of the process and considerations.

Things to TakeCare:
1. Ensure Precision and Patience During the Process:
Desoldering the eMCP chip is a delicate task that demands meticulous attention to detail. Rushing through this step can lead to irreversible damage to the chip.
2. Work in a Static-Free Environment:
Static electricity can cause damage to electronic components. It’s important to conduct desoldering in an environment where static discharge is minimized. This may involve using antistatic mats and wrist straps, and ensuring the workspace is free from materials that generate static electricity.
3. Use Appropriate Safety Equipment:
When desoldering, it’s crucial to use protective gear such as gloves, safety glasses, and lab coats. Ensure proper ventilation and follow all safety protocols to prevent accidents.
Comprehensive eMCP Desoldering Procedure:
This document is a detailed guide for the eMCP (Embedded Multi-Chip Package) desoldering process, aimed at professionals in electronic repair and hardware security analysis.
Detailed Steps and Required Tools:
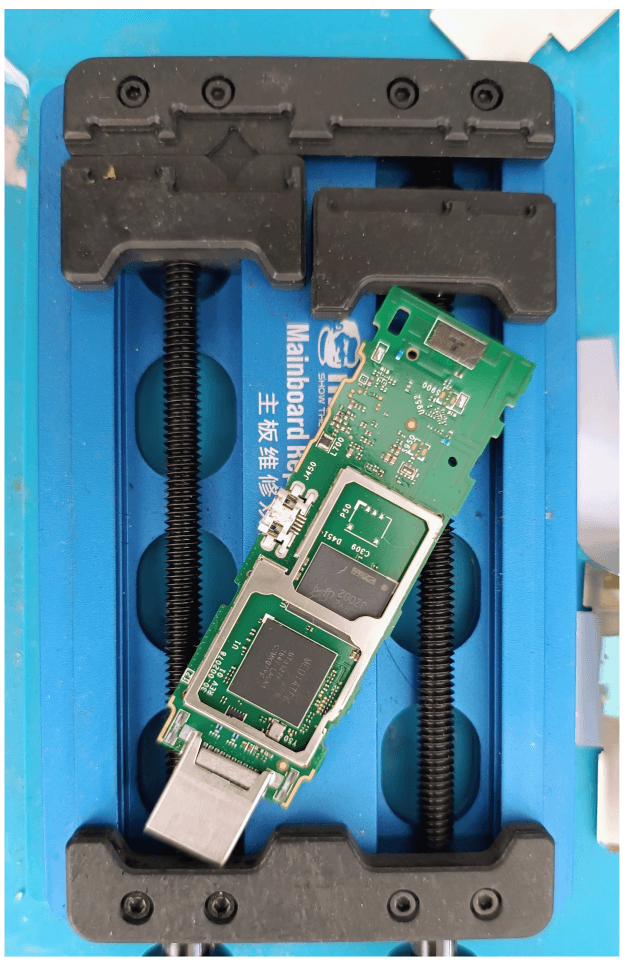
Attach the Board to PCB Holder:
Ensure the board is firmly secured in a PCB holder to maintain stability. For this purpose, we recommend using a mechanical holder as it offers both cost-effectiveness and reliable steadiness.
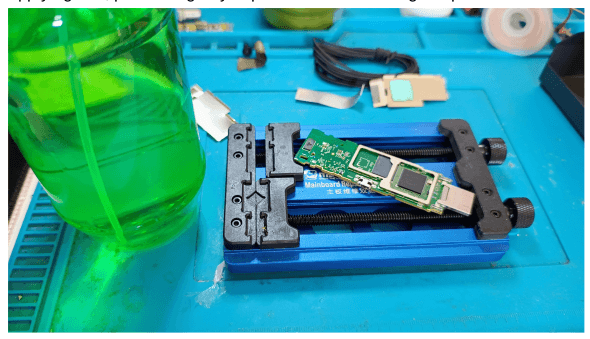
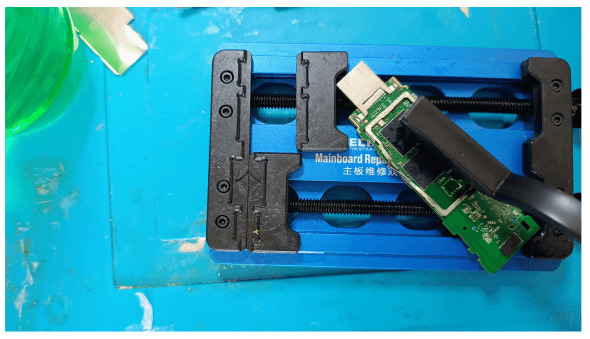
Clean Area Around eMCP:
Carefully clean the vicinity of the eMCP using isopropyl alcohol, applying it with a lint-free cloth to eliminate any residual substances or contaminants. This step guarantees a pristine surface for flux application, safeguarding against the interference of any impurities in the procedure.
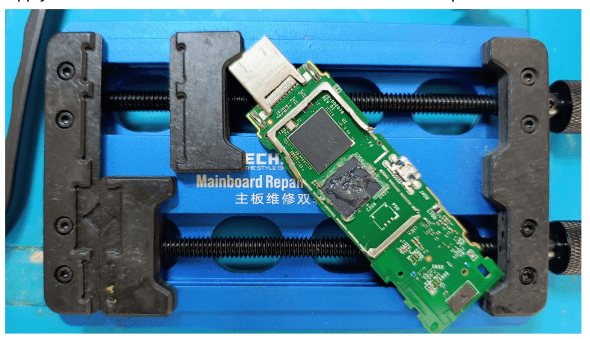
Apply Minimal Flux:
Gently dispense a minimal amount of flux directly onto the eMMC/eMCP using a flux pen or syringe. Aim for a thin, even layer to cover the targeted area without excess. This careful application ensures optimal flux penetration and distribution, critical for enhancing soldering quality and preventing potential solder bridges or defects.
Kapton Tape Application:
Carefully wrap the eMCP with Kapton tape to protect the surrounding components. This step ensures that nearby parts are shielded from potential damage during soldering or rework, by providing thermal insulation and electrical isolation.
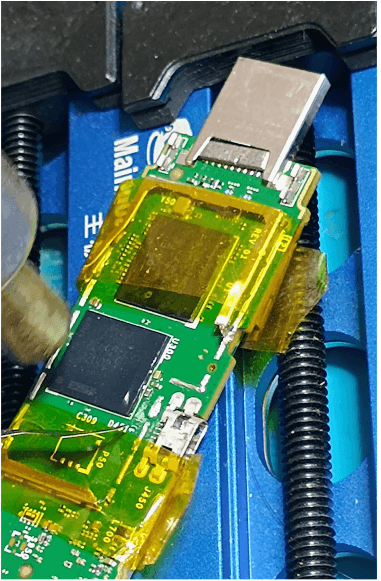
Heating the eMCP:
Utilize a thermocouple to accurately gauge the temperature in the vicinity of the eMCP. Solder paste typically melts at either 138 degrees Celsius or 183 degrees Celsius. By observing the thermocouple’s reading, you can determine the solder paste’s melting point. For example, if bubbles form on the eMCP’s surface at temperatures around 110-120 degrees Celsius, it suggests that the solder paste with a melting point of 138 degrees Celsius is in use.

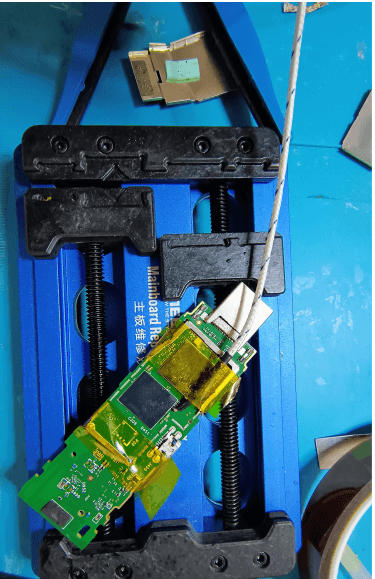
Desoldering Process:
Using the soldering iron set between 300-350°C, guide the desoldering wick across the eMCP pads in a direction resembling the hands of a clock at 7:30. This technique facilitates the efficient removal of solder by absorbing it into the wick, ensuring a clean pad surface for subsequent operations.
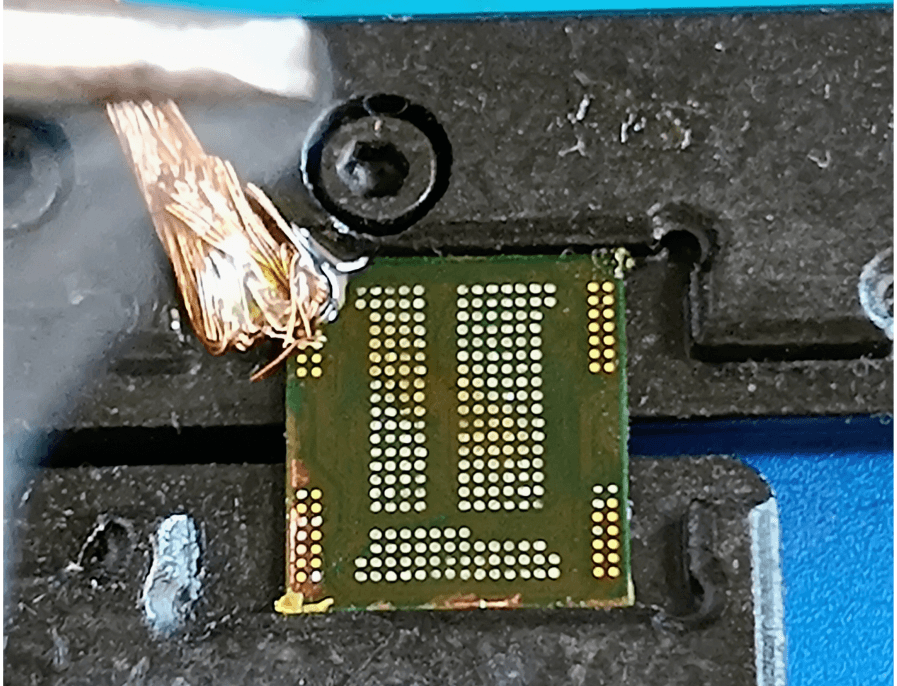
Cleaning with Haired Brush & IPA:
Gently scrub the eMCP using a haired brush moistened with isopropyl alcohol (IPA). This method effectively removes any residue or contaminants, ensuring the surface is clean and prepared for further processing.
Using Stencil:
Position the stencil accurately over the eMCP, opting for a universal stencil if specific dimensions are needed. Employ a Magnetic Holder to ensure the stencil remains precisely aligned during the process. For this task, the RB-01 eMCP reballing station is utilized to facilitate accurate and efficient reballing.
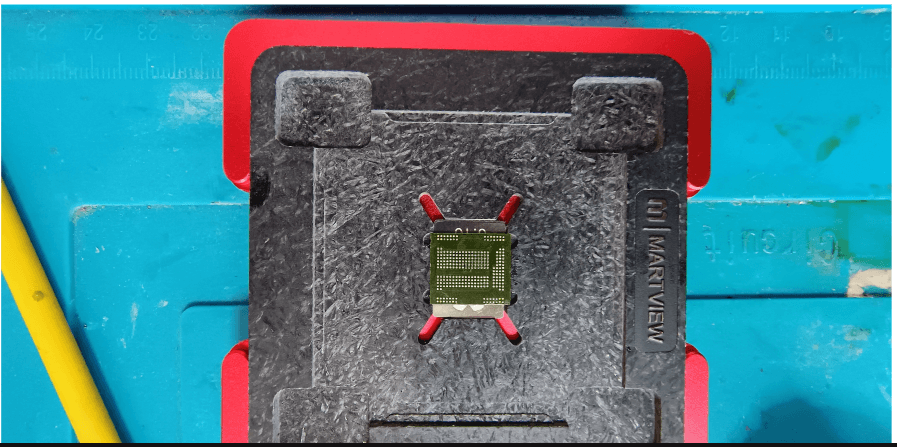
Preparing PPT (Pb-Free Solder Paste):
To prepare the solder paste for use, press it against a cloth. This action helps to extract any excess moisture from the paste, ensuring its optimal consistency for application.

Applying Solder Paste:
To apply the solder paste, spread it across the target area by moving in a manner similar to the motion of a clock’s hand pointing to 4:00. Once applied, carefully wipe away any surplus paste by moving in the reverse direction, resembling a clock’s hand at 10:00. This method guarantees a uniform and accurate application of the solder paste, ensuring optimal coverage and adherence.
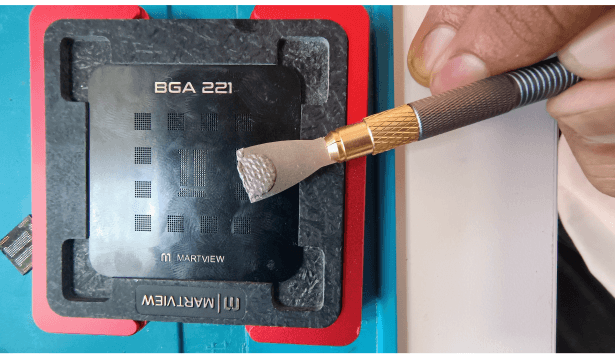
Reballing Process:
After applying the solder paste, thoroughly clean the chip. Next, proceed to reflow the solder balls by carefully positioning them with ESD-safe tweezers. Use a hot air gun set to 240°C to melt the solder, ensuring the balls securely attach to their designated pads on the chip. This technique provides precise control over the placement and attachment of solder balls, crucial for successful reballing.
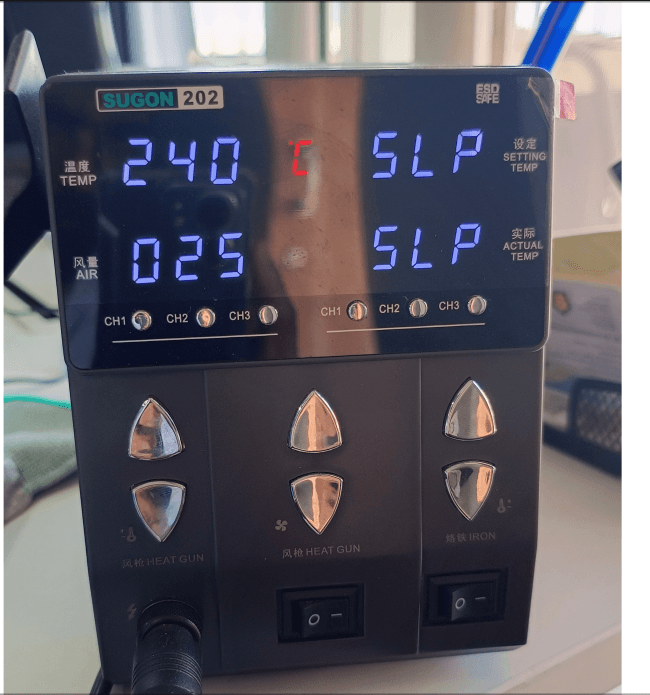
Final Removal and Adjustment:
Carefully remove the chip using ESD-safe tweezers. After removal, reapply flux to the chip’s contacts, and if needed, use a heat gun to slightly reheat the solder balls. This step allows for fine adjustments to ensure the solder balls are correctly positioned and prevent any unwanted bridging between the soldered balls and the eMCP adapter during the data reading process. This precaution helps maintain the integrity of the connections and facilitates accurate data transfer.
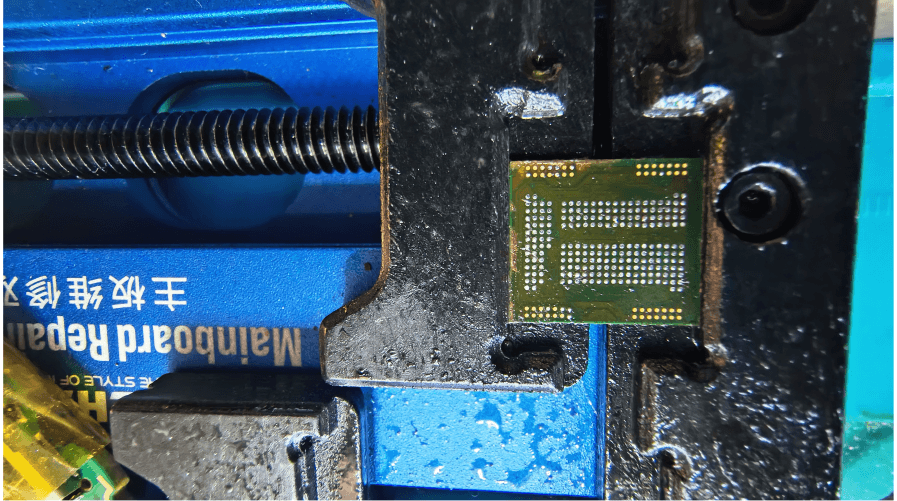
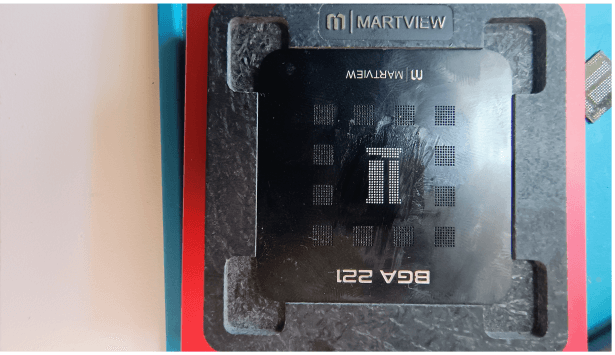
Continue in part 2…!
Happy Learning! 🎉
